Disclosure: This post may contain affiliate links. As an Amazon Associate, I earn from qualifying purchases. If you click through and make a purchase, I may earn a small commission at no extra cost to you.
Moving into a brand-new home is exciting — fresh paint, spotless floors, and everything built to modern standards. But as beautiful as it is, many new construction homes can feel a little… plain. Builder-grade finishes and neutral walls make for a blank slate, but they also leave plenty of room to make the space your own.
The good news? You don’t have to spend thousands or hire a contractor to add personality and function to your home. These 10 beginner-friendly DIY projects for new construction homes will help you customize your space, boost its functionality, and make it feel truly yours.
1. Install Curtain Rods & Window Treatments
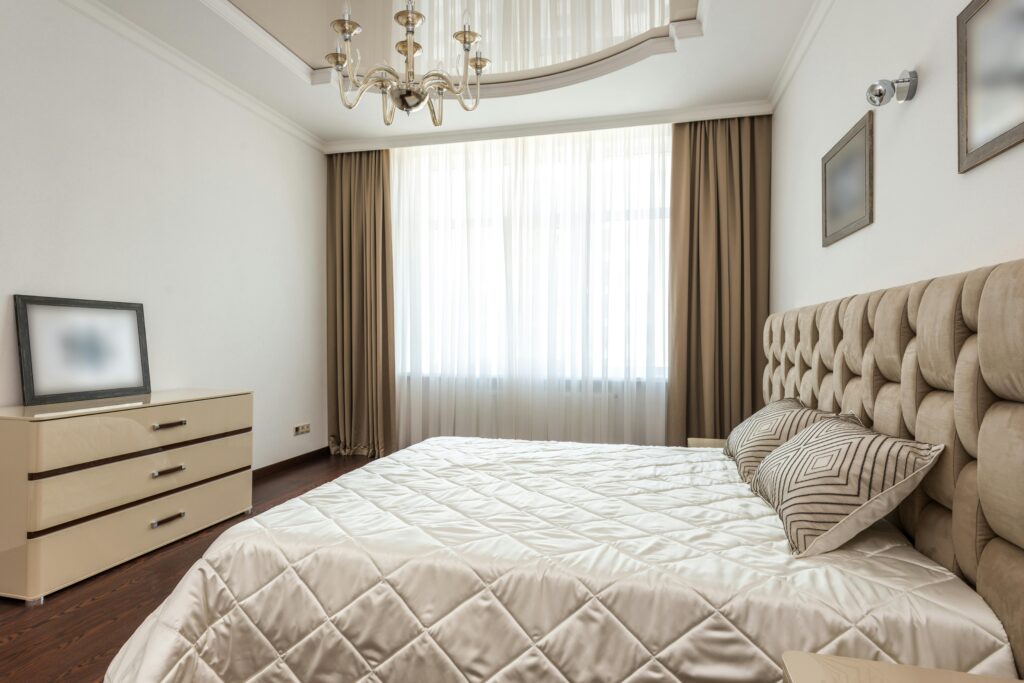
Why it matters: Most new builds come with bare windows, offering little privacy or style. Window treatments instantly make a home feel lived-in and cozy. They also help regulate light, reduce glare, and improve insulation.
Project details: Start by choosing the type of covering that works for your lifestyle — curtains for softness and texture, blinds for light control, or shades for a clean, modern look. Mount curtain rods 4–6 inches above the window frame to create the illusion of taller ceilings. Extend rods beyond the frame by 3–6 inches so your curtains don’t block natural light when open.
Pro Tip: If your style changes often, choose neutral curtain rods and swap out curtains seasonally for a quick refresh. Blackout curtains are a great choice for bedrooms to improve sleep quality, while light linen panels work beautifully in living spaces.
Estimated Cost: $25–$150 per window.
Watch the tutorial: How to Hang Curtains – for Beginners
2. Add Closet Organization Systems
Why it matters: Builder-grade closets often have just one shelf and a hanging rod — fine for move-in day, but not great for maximizing space. Installing a system early helps you stay organized from the start, preventing clutter from taking over.
Project details: Measure your closet and map out zones for hanging clothes, folded items, and accessories. Modular systems like ClosetMaid, IKEA PAX, or Rubbermaid can be cut to fit your space and expanded later. Use double hanging rods in closets for shirts and pants, and dedicate one section for full-length dresses or coats.
Pro Tip: Add drawers for smaller items, baskets for accessories, and shelf dividers to keep stacks neat. If you have a walk-in closet, consider a small dresser or island for extra storage.
Estimated Cost: $50–$250 per closet.
Watch the tutorial: DIY Closet Organization
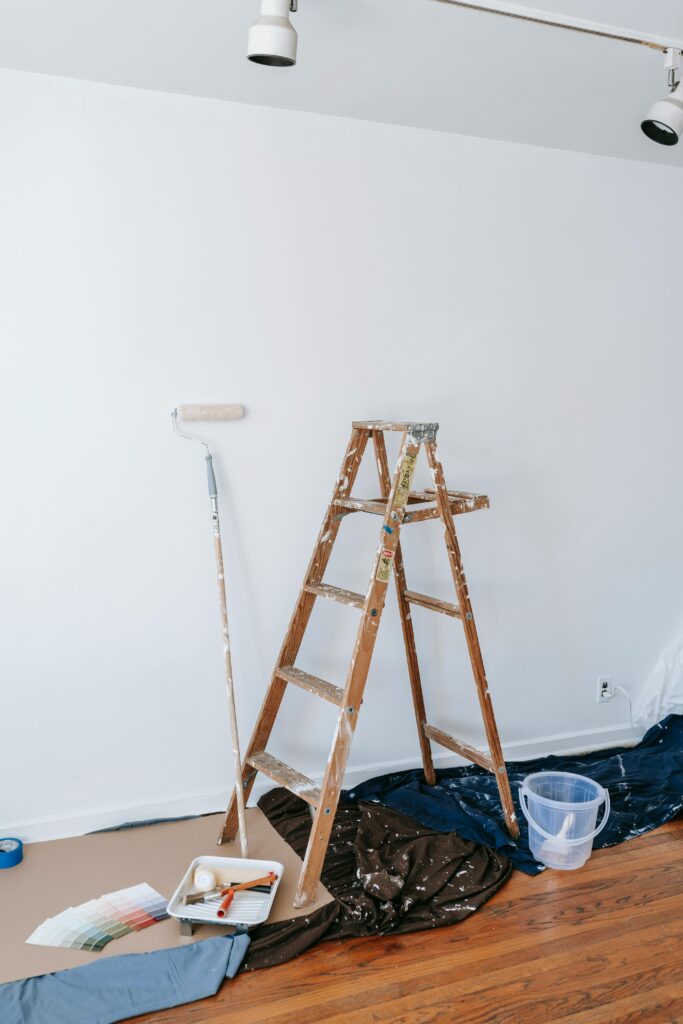
3. Create an Accent Wall
Why it matters: A single statement wall adds character and depth to a room without the commitment (or cost) of redoing all four walls. It’s one of the quickest ways to make a space feel intentional rather than builder-basic.
Project details: Paint is the easiest and cheapest option — a deep navy, warm terracotta, or bold emerald can instantly change the mood of a room. Peel-and-stick wallpaper is beginner-friendly and removable, making it perfect if you like to change styles often. For a more permanent upgrade, wood paneling, board and batten, or shiplap add texture and architectural interest.
Pro Tip: Accent walls work best behind focal points — behind the bed in a primary bedroom, the sofa in a living room, or the dining table in an open-plan space. Use painter’s tape to map out the wall before committing to a color or pattern.
Estimated Cost: $30–$200.
Watch the tutorial: Easy DIY Geometric Accent Wall
4. Build or Install Garage Storage
Why it matters: The garage is often the first place in a new home to become messy. Without storage, seasonal decorations, sports equipment, and tools quickly pile up. Installing systems right away keeps your garage functional and safe.
Project details: Wall-mounted racks and pegboards are perfect for tools, bikes, and ladders. Ceiling-mounted racks free up floor space for cars while keeping totes and bins out of the way. Freestanding shelving units are affordable and require minimal installation.
Pro Tip: Group items by category (sports gear, tools, holiday décor) and label all bins. If you store liquids like paint or cleaning supplies, keep them on high shelves away from pets and children.
Estimated Cost: $50–$300.
Watch the tutorial: Ultimate DIY Garage Storage System
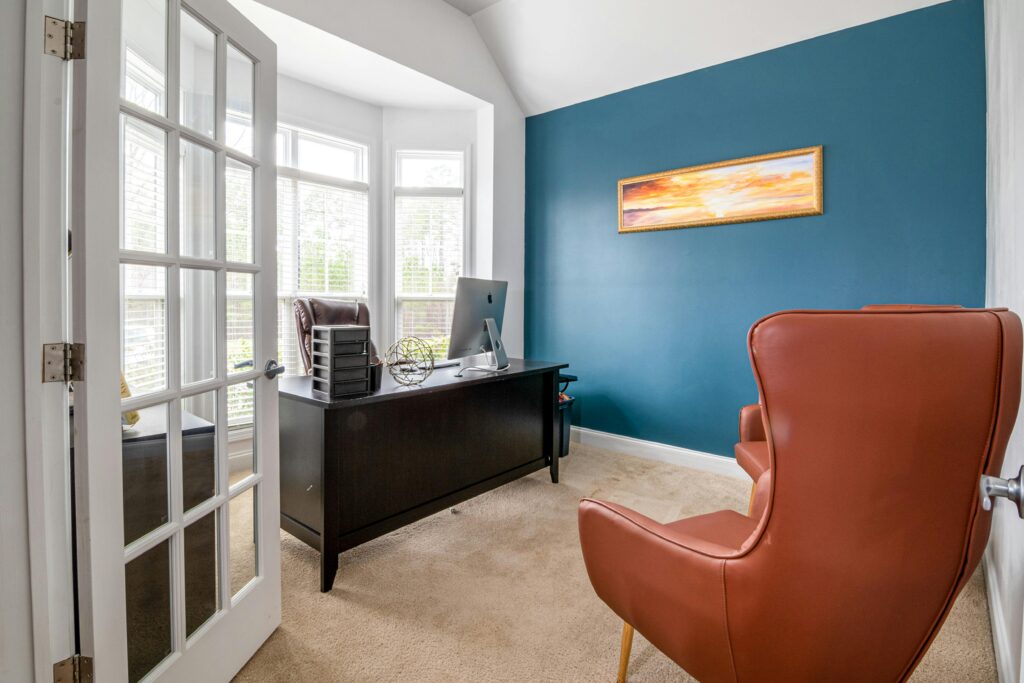
5. Upgrade Lighting Fixtures
Why it matters: Builders often install the most basic lighting possible to save costs — think flush-mount domes or plain pendants. Swapping them out can completely transform a room’s look and feel.
Project details: Dining rooms benefit from statement chandeliers, kitchens from pendant lights over islands, and entryways from bold fixtures that make a first impression. Swapping a light fixture is often just a matter of turning off the power, removing the old fixture, and wiring the new one.
Pro Tip: Match fixture finishes to other hardware in your home (door handles, cabinet pulls) for a cohesive look. If you’re unsure about electrical work, have a licensed electrician handle the installation — especially for heavy chandeliers or ceiling fans.
Estimated Cost: $50–$300 per fixture.
Watch the tutorial: How to Replace a Light Fixture
6. Add a Backsplash in the Kitchen
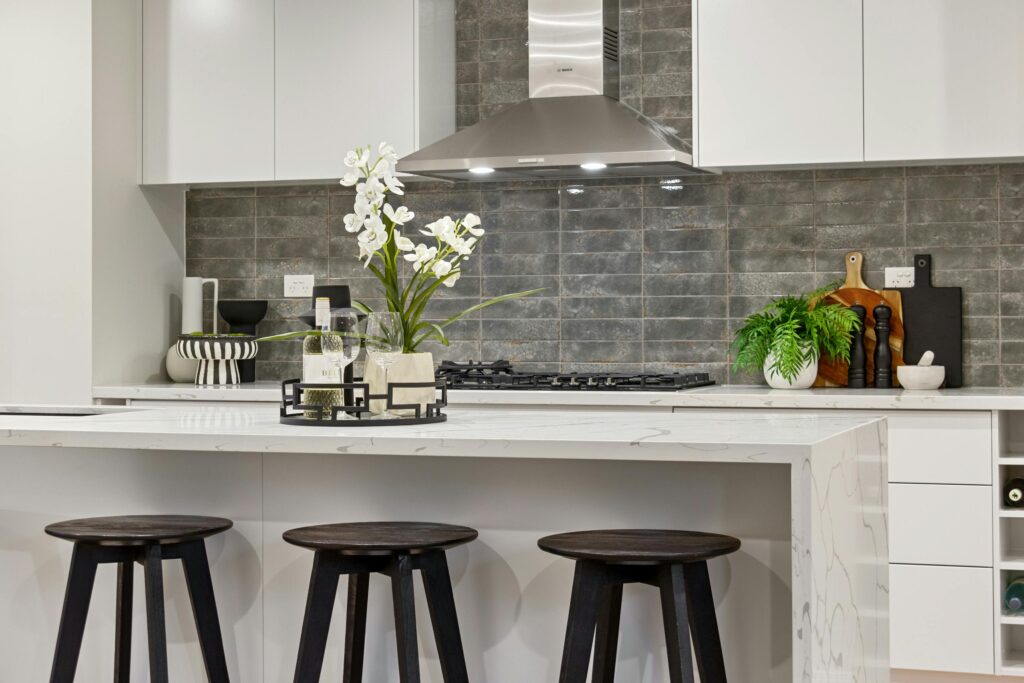
Why it matters: A backsplash protects your walls from spills and splatters while adding personality to one of the most-used rooms in your home. It can also help tie your cabinetry and countertops together.
Project details: Peel-and-stick tile is an easy weekend project for beginners — no grout or mortar required. If you want something more permanent, traditional ceramic or glass tile with grout will give a professional finish. Subway tiles are timeless, while patterned tiles make a bold statement.
Pro Tip: Use a laser level when installing tiles to keep lines straight. If using peel-and-stick, clean and dry the wall thoroughly before applying to ensure proper adhesion.
Estimated Cost: $40–$250.
Watch the tutorial: How to Install Peel and Stick Tile Backsplash
7. Install Ceiling Fans
Why it matters: Ceiling fans can help reduce cooling costs in summer and improve heat circulation in winter. Many new builds are already pre-wired, so installing fans is a quick upgrade.
Project details: Choose a fan with a reversible motor for year-round use. In the summer, blades should rotate counterclockwise to push air down and create a cooling breeze. In the winter, switch to clockwise rotation to gently recirculate warm air.
Pro Tip: When choosing fan size, use this rule: rooms up to 75 sq. ft. need a 29–36” fan, 76–144 sq. ft. need a 36–42” fan, and larger spaces need 52” or bigger.
Estimated Cost: $80–$300.
Watch the tutorial: How to Install a Ceiling Fan
8. Build a Mudroom or Entryway Drop Zone
Why it matters: Without a designated spot for shoes, coats, and bags, clutter piles up near the entry fast. Creating a mudroom space helps keep the rest of your home tidy.
Project details: Even if you don’t have a separate mudroom, you can create a drop zone with a bench, hooks, and cubbies. Add baskets for hats and gloves, and consider wall-mounted mail organizers to prevent paper clutter.
Pro Tip: Use a weather-resistant rug to catch dirt and water, especially in rainy or snowy climates.
Estimated Cost: $50–$200.
Watch the tutorial: Hall Tree / Drop Zone Built-In
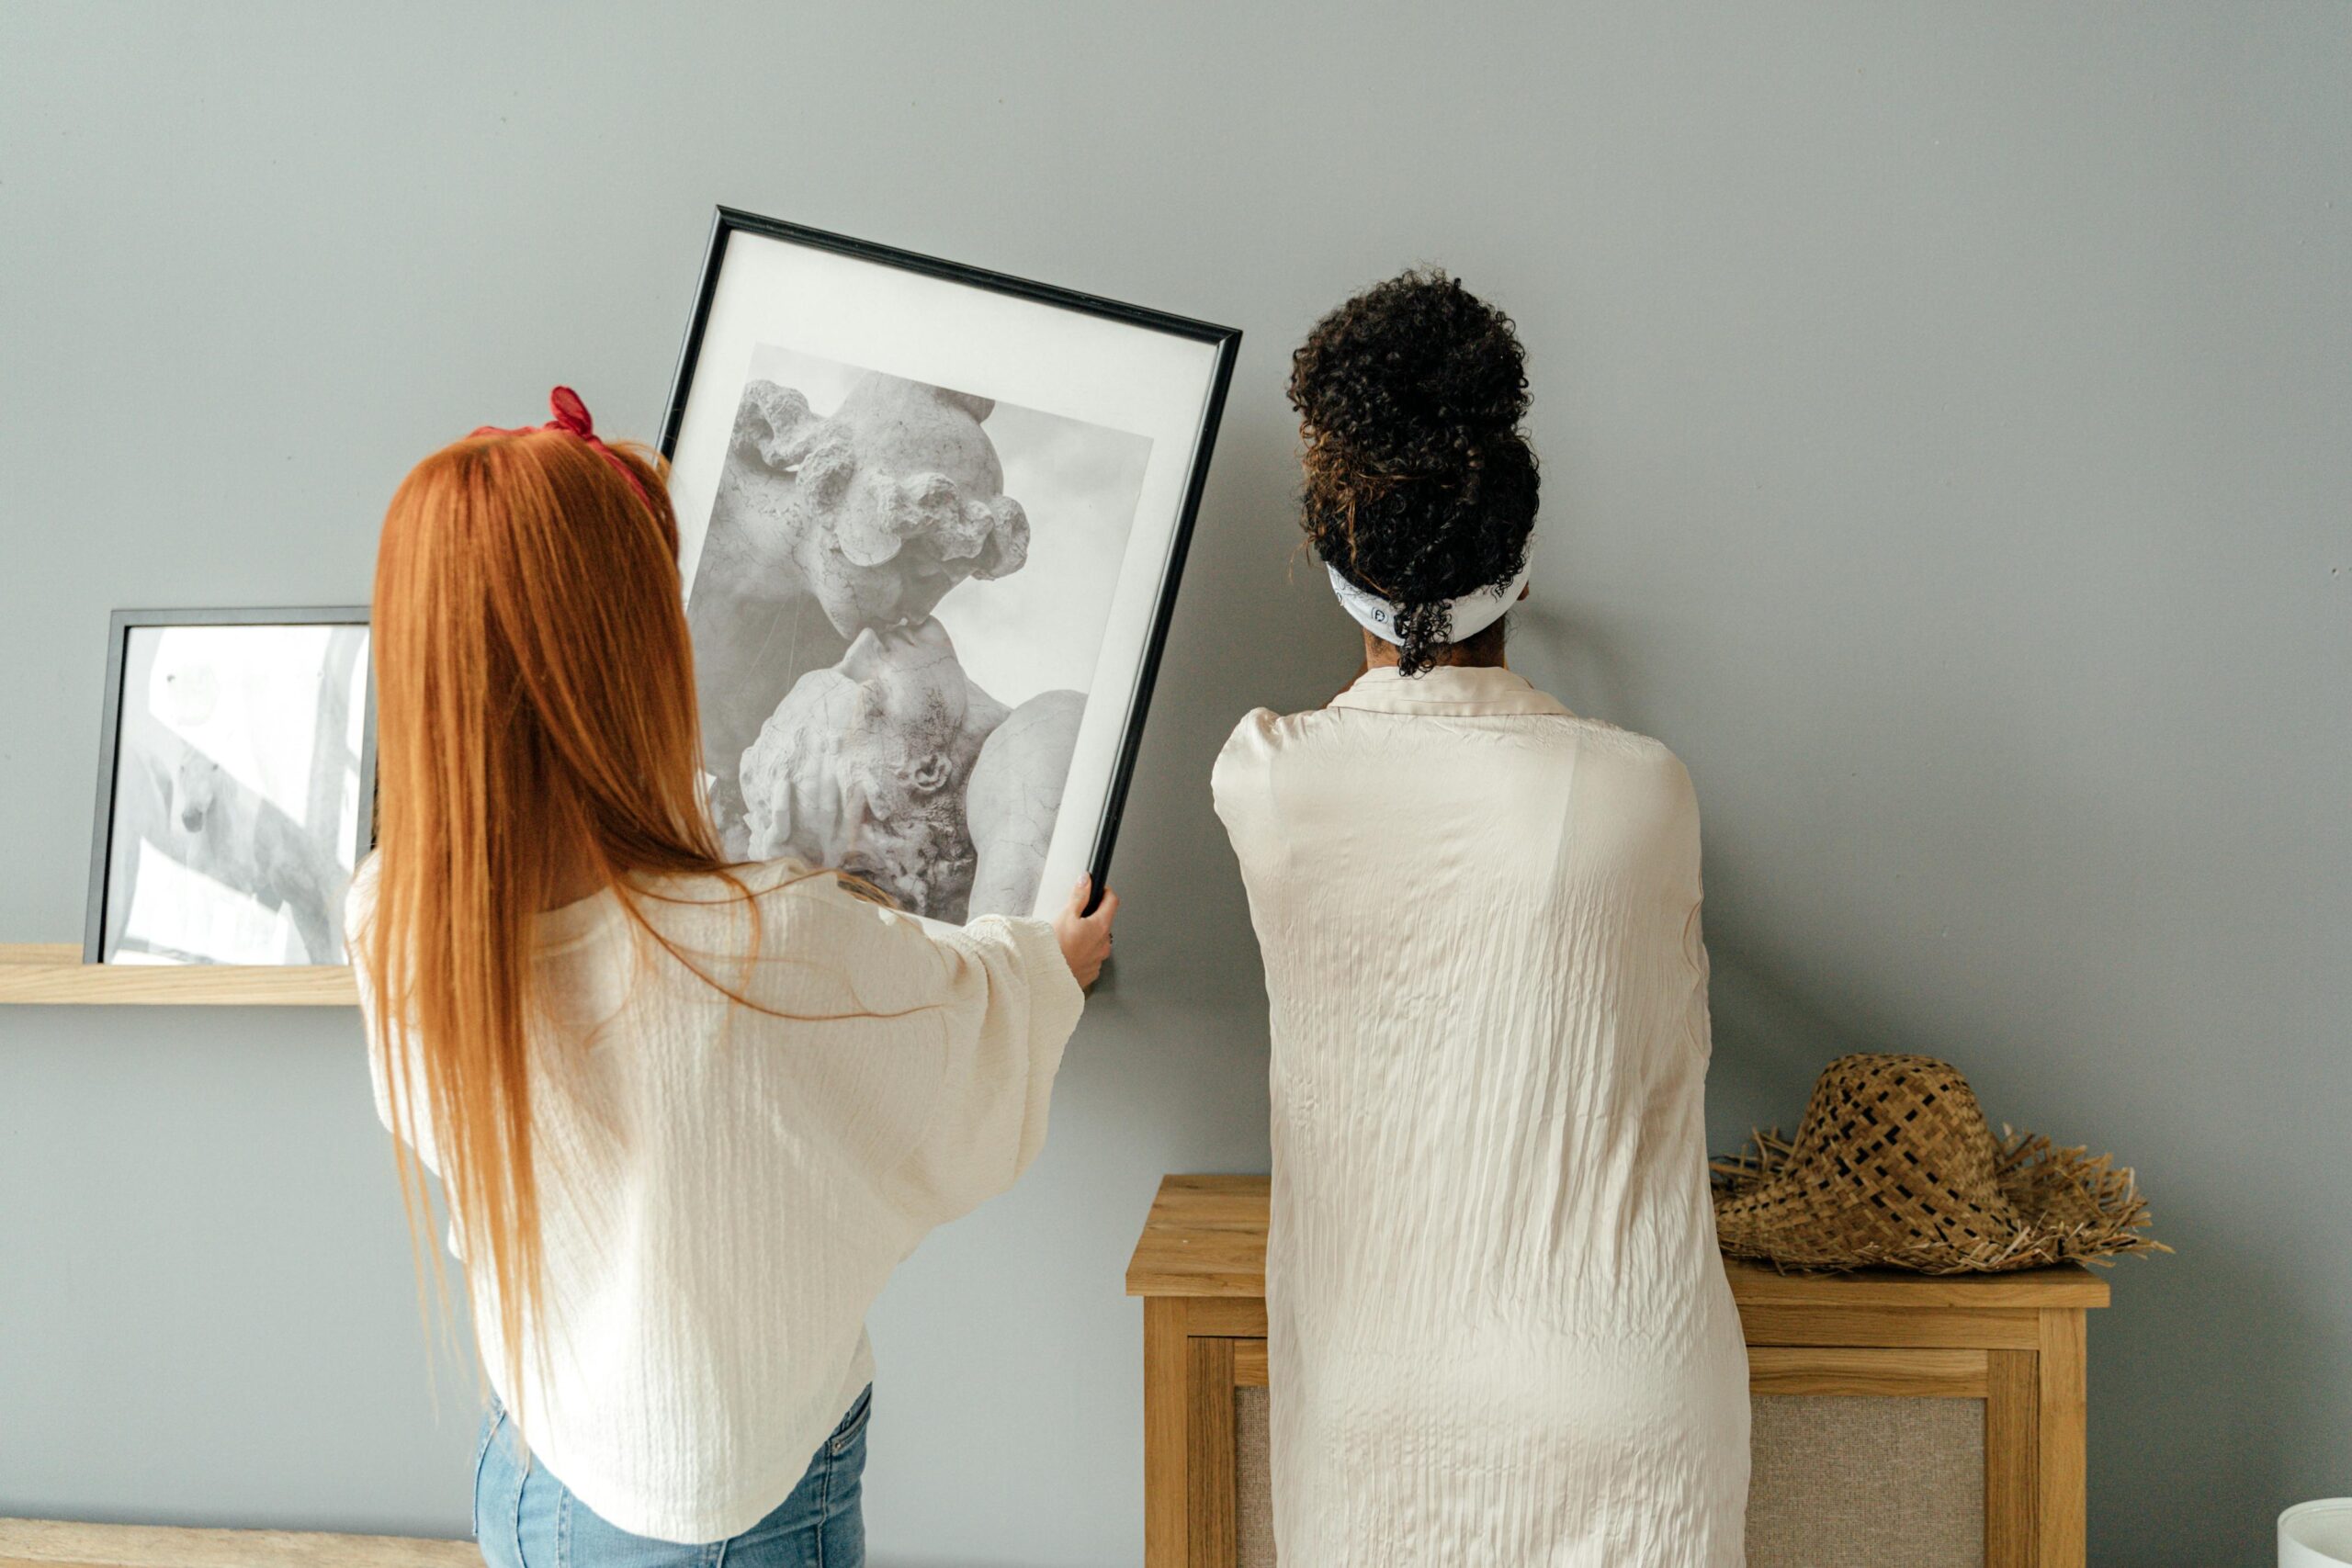
9. Hang Floating Shelves
Why it matters: Floating shelves add storage and style without taking up valuable floor space. They can display books, plants, art, or everyday essentials in kitchens and bathrooms.
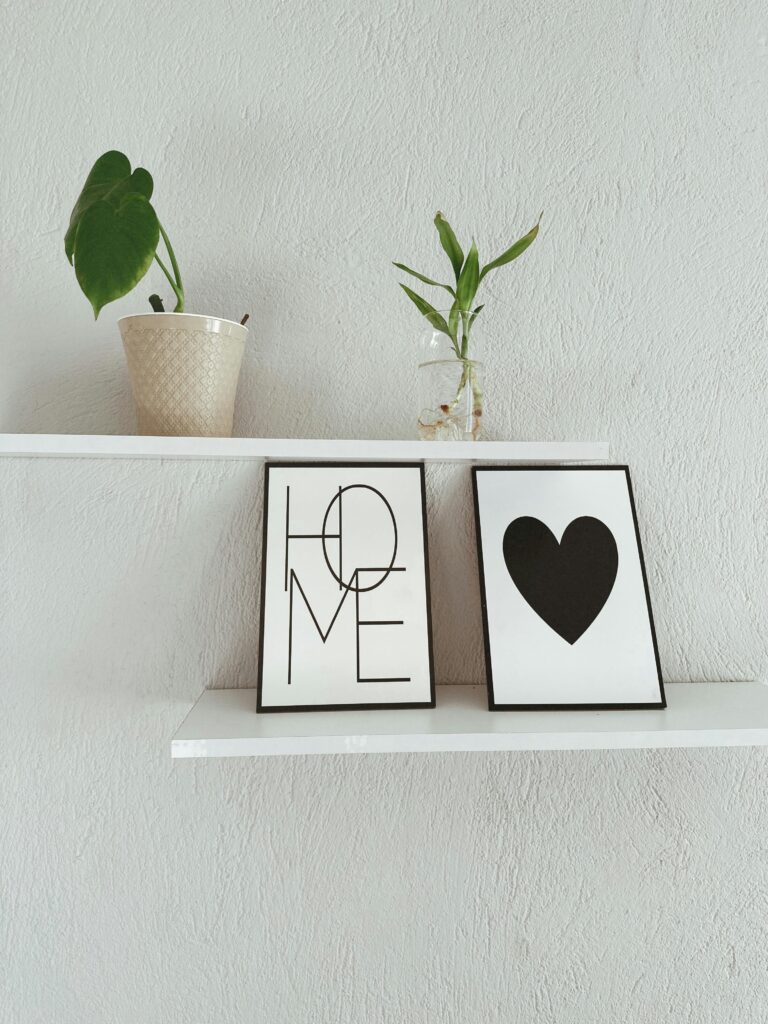
Project details: Look for shelves with concealed brackets for a clean, modern look. Use a stud finder for secure installation — especially for heavier items. Group shelves in sets for balance and visual interest.
Pro Tip: Mix decorative items with functional storage. For example, in a kitchen, pair cookbooks with spice jars; in a bathroom, combine candles with extra towels.
Estimated Cost: $20–$100 per shelf.
Watch the tutorial: 3 Ways to Build Floating Shelves
10. Install a Garden or Planters Outside
Why it matters: New construction yards often have basic sod and minimal landscaping. Adding plants improves curb appeal and creates a welcoming environment.
Project details: Start with raised garden beds or large planters near your entryway. Choose low-maintenance perennials, shrubs, or herbs suited to your climate. If you enjoy cooking, a small kitchen garden with basil, rosemary, and tomatoes is both practical and beautiful.
Pro Tip: Use mulch to retain moisture, reduce weeds, and give your garden a polished look.
Estimated Cost: $50–$300.
Watch the tutorial: How to Build a Raised Garden Bed
Final Thoughts
Your new construction home is a blank canvas — and that’s the beauty of it. By tackling these DIY projects for new builds early, you can create a space that’s not only functional but also uniquely yours.
Start with one or two projects at a time, and before you know it, your new house will feel like home in every corner.