
Disclosure: This post may contain affiliate links. As an Amazon Associate, I earn from qualifying purchases. If you click through and make a purchase, I may earn a small commission at no extra cost to you.
A vinyl fence is one of the best low-maintenance upgrades you can make to your home. Whether you want more privacy, a safe space for pets, or just to enhance your property’s curb appeal, installing a vinyl fence yourself is easier than you might think — and a great weekend project for DIY-minded homeowners.
In this guide, you’ll learn:
- What materials and tools you’ll need
- A step-by-step walkthrough of the installation process
- Estimated project costs
- Key mistakes to avoid
- A helpful YouTube video to visualize the process
Let’s get started!
Why Choose Vinyl Fencing?
Vinyl fencing has become increasingly popular for first-time homeowners for several reasons:
Low Maintenance: No painting, staining, or sealing required
Durability: Resists weather, UV rays, moisture, and pests
Easy to Clean: Just hose it down — soap and water do the trick
Modern Curb Appeal: Sleek, clean lines with many style options
Long-Term Value: Lasts 20+ years with minimal upkeep
Estimated Cost of a Vinyl Fence
Here’s a breakdown of typical project costs:
| Item | Estimated Cost |
|---|---|
| Vinyl fence panels (6ft x 6ft) | $50 – $90 each |
| Fence posts | $20 – $40 each |
| Concrete (per post) | ~$5 – $10 |
| Gravel | ~$5 per bag |
| Tools (if not owned) | $40 – $100 |
| Optional gate kit | $80 – $150 |
| Estimated total (50 ft fence) | $600 – $1,200 |
Pro Tip: Consider renting tools like a post-hole digger or auger from Home Depot or Lowe’s to save money.
Materials & Tools You’ll Need

Materials:
- Vinyl fence panels (with rails and pickets)
- Fence posts (line, corner, end, and gate posts)
- Gravel
- Fast-setting concrete mix
- Optional gate hardware
Tools:
- Post hole digger or auger
- Measuring tape
- Level
- Rubber mallet
- String line
- Shovel
- Drill (for gate installation)
Step-by-Step: How to Install a Vinyl Fence
1. Plan & Prep
- Measure the perimeter you want to fence.
- Mark corners and run string lines for straight installation.
- Determine your panel width to space out post locations evenly.
- Contact 811 before you dig to mark utility lines.
2. Dig Post Holes
- Use a post-hole digger or power auger.
- Holes should be 10–12″ wide and 24–30″ deep (depending on frost line).
- Add 4–6″ of gravel at the bottom for drainage.
3. Set Posts
- Insert post into hole.
- Use a level and string line to ensure alignment.
- Pour in concrete and allow to set. Bracing may be required while drying.
4. Install Panels
- Most panels lock into pre-cut notches on posts or slide into brackets.
- Secure rails and check for level as you go.
- If adding a gate, follow kit instructions carefully for hinge and latch alignment.
5. Add Finishing Touches
- Snap on decorative post caps (glue optional).
- Walk the fence line to check for any loose panels or wobbly posts.
Visual Learner? Watch This Step-by-Step Video:
How to Install a Vinyl Fence DIY Privacy Fence Build
This 7-minute video walks through the full process with visuals — perfect if you’re installing your first fence.
Vinyl Fence Styles to Consider
| Style Name | Description | Best For |
|---|---|---|
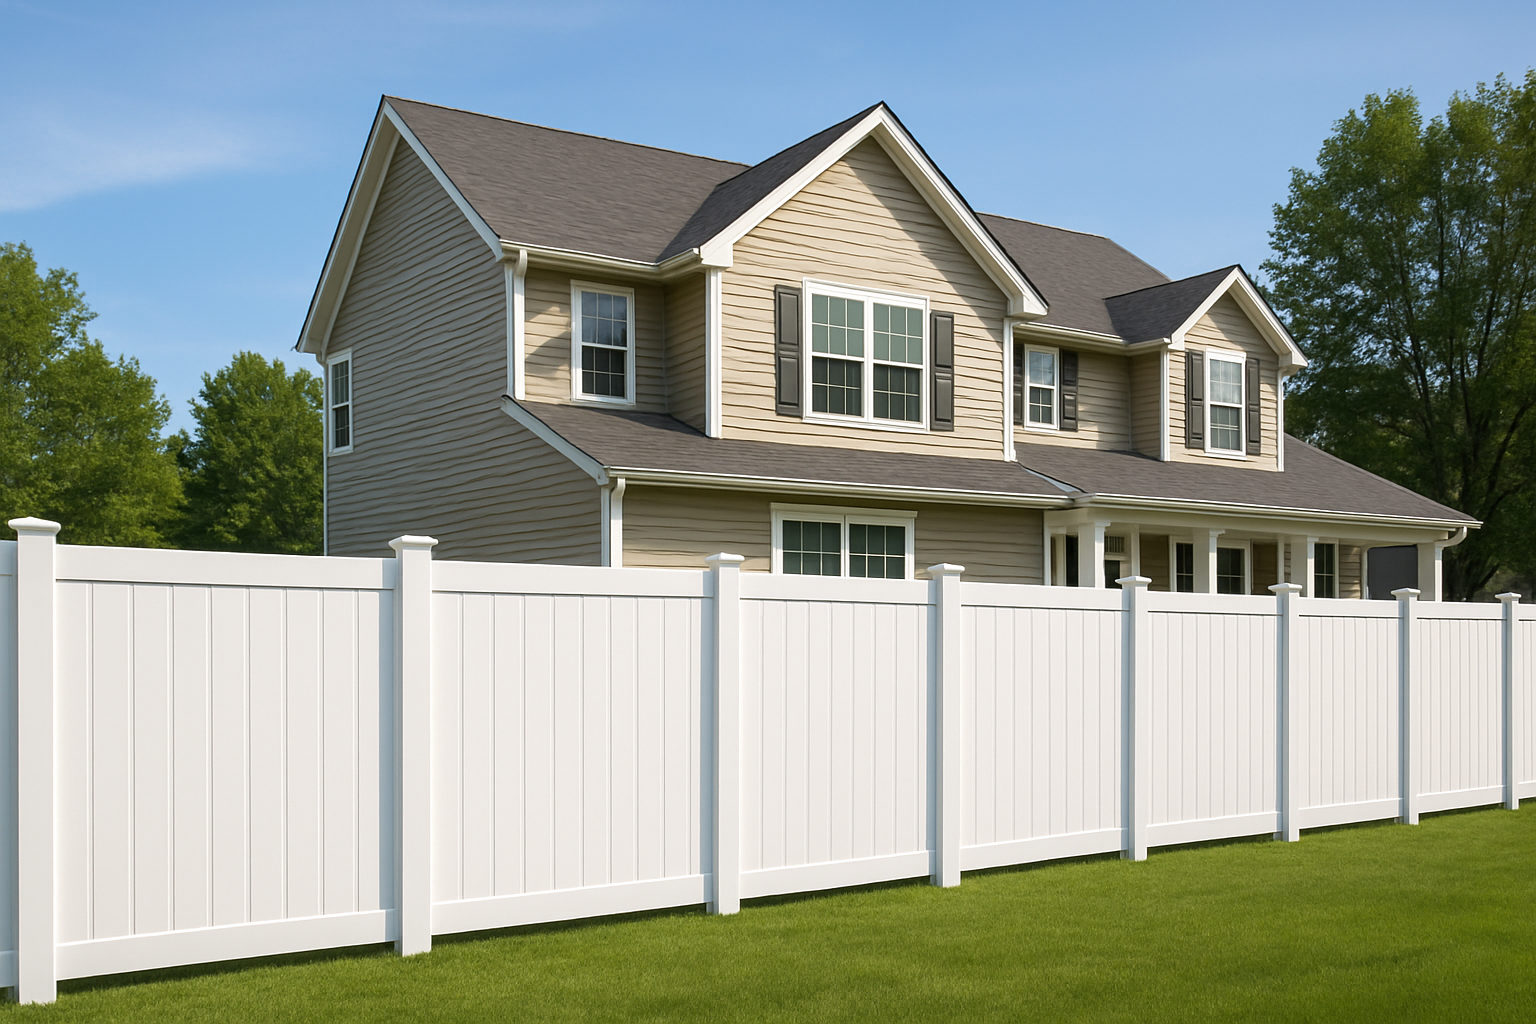
| Privacy Fence | Solid panels with no gaps | Backyard, full privacy |
| Picket Fence | Traditional style with spaced pickets | Front yards, decorative |
| Lattice Top | Solid panel with decorative lattice trim | Stylish backyard look |
| Ranch Rail | Horizontal rails only (no pickets) | Front yards, boundaries |
Common Mistakes to Avoid
Skipping the level check – Uneven fences look unprofessional and won’t hold up well.
Underestimating post depth – Shallow holes mean unstable posts, especially in wet soil.
Forgetting about gates – Always factor in gate width when spacing your posts.
Not calling 811 before digging – You must check for underground utilities!

Is a DIY Vinyl Fence Worth It?
Absolutely — if you’re comfortable using basic tools and have a free weekend, installing your own fence can save $1,000–$3,000 compared to hiring a pro. Plus, it’s a huge step in making your new construction home feel truly yours.